Installing printers in Windows - Kunnskapsbasen
Installing printers in Windows
How to install printers in Windows 10.
Norsk versjon - Installere NTNU-skriver i Windows
Innholdsfortegnelse [-]
Topic page about Printing and Copying | Pages tagged print
Requirements
- You have to be connected to NTNUs network to print, either via VPN, Eduroam, NTNU MA or a network cable.
- You have to have enough available funds in your printing allowance account.
- Some computer labs are configured to not allow installation of new printers, and you therefore have to use the pre-installed printer(s).
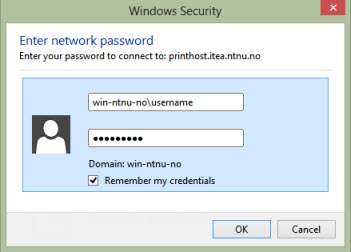
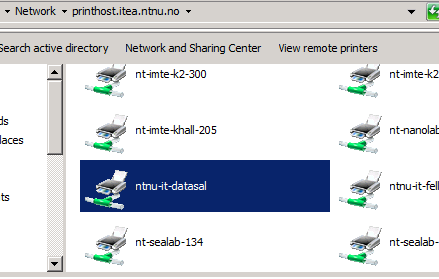
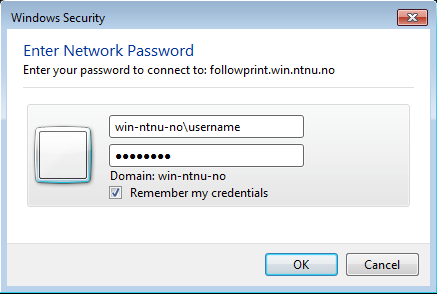
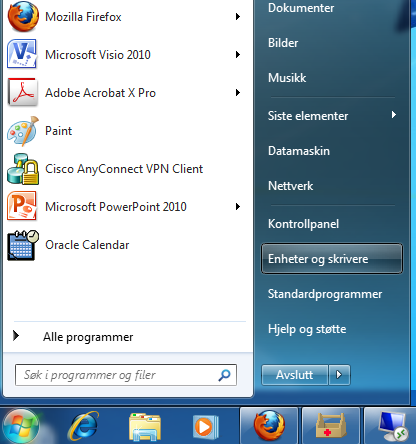
How to connect to a printer
The printers at computer labs are typically connected to a combined print queue for several printers. This means that when you are sending a printing job to the printer, and then sweep your card at a one of the computer lab printers connected to that queue, you will be able to access your printing job there.
All NTNU printers with card readers are available on:
- NTNU-print
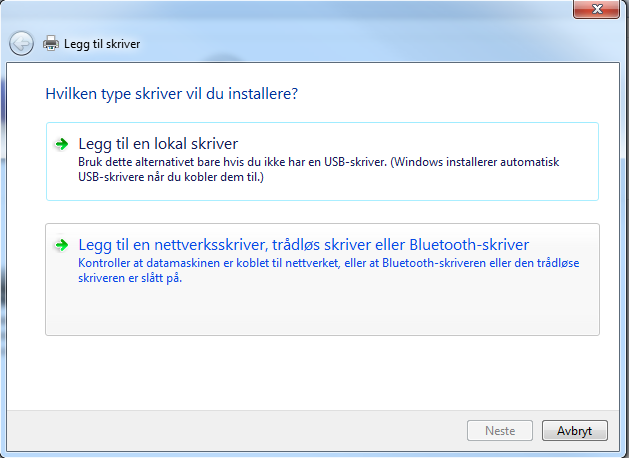
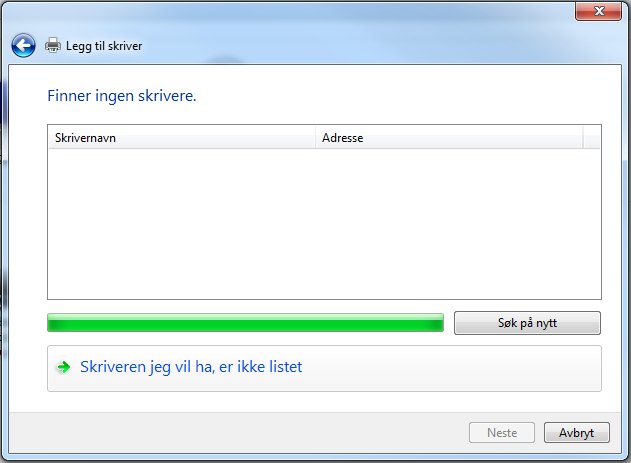
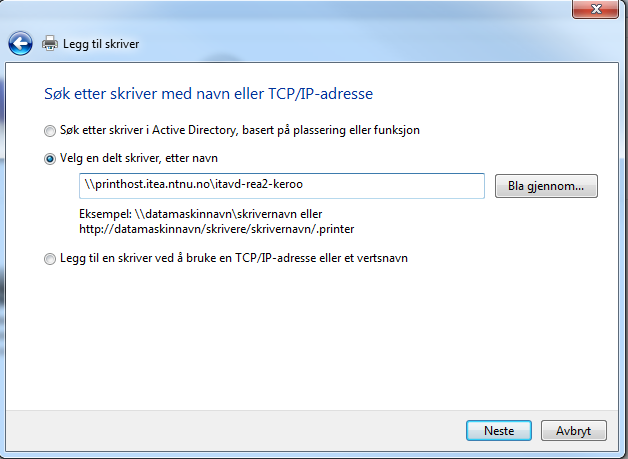
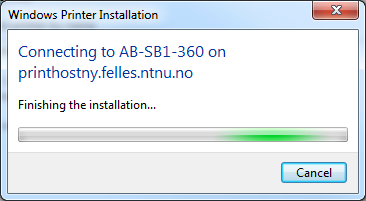
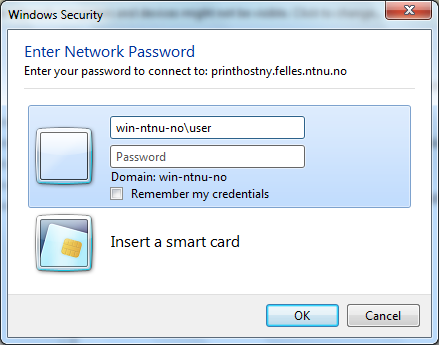
Installation
The following procedure is usually only necessary once.
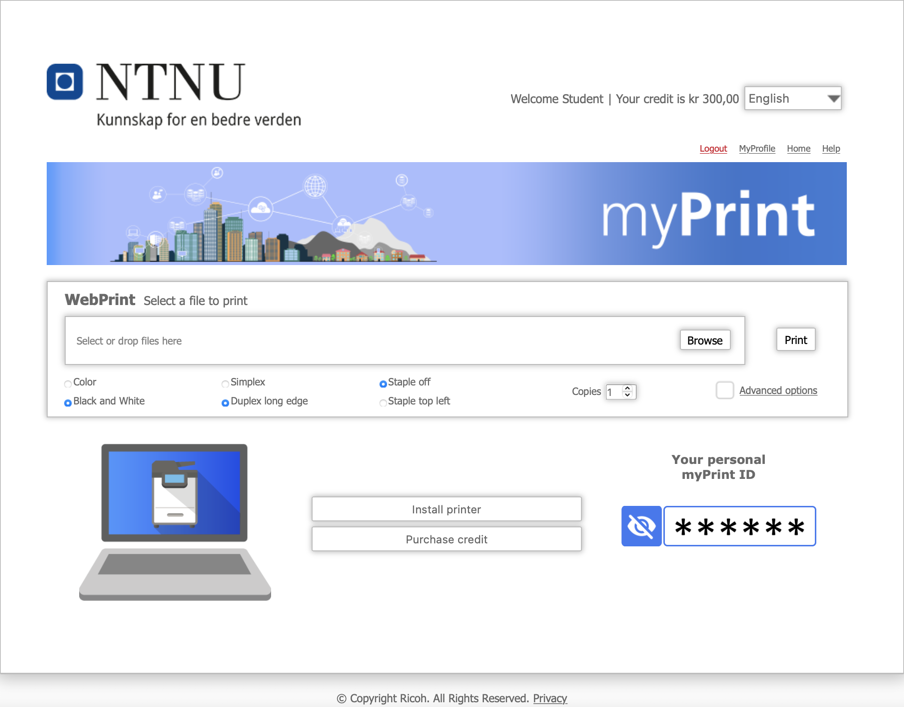
Open myprint.ntnu.no in a webbrowser.
.png)
Click the Install printer button.
Select your operating system, usually the right operating system will be pre-selected if your browser supports this.
Click Download package, once the file is downloaded start installing.
Printing in colour
To reduce the cost for students, many printers on NTNU print are set up to force black and white printing. You can change this by following the steps below:
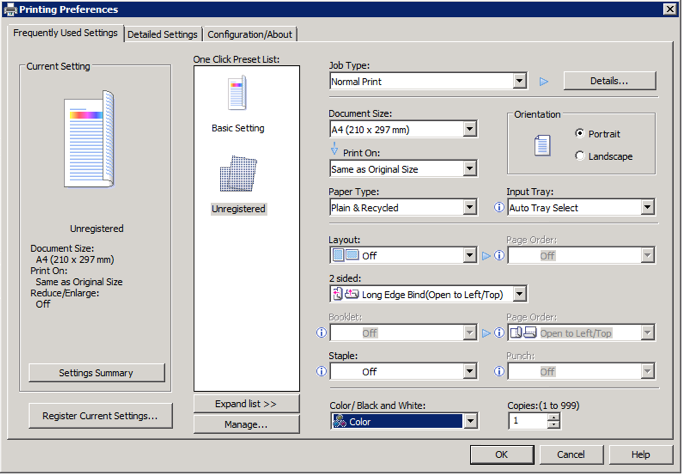
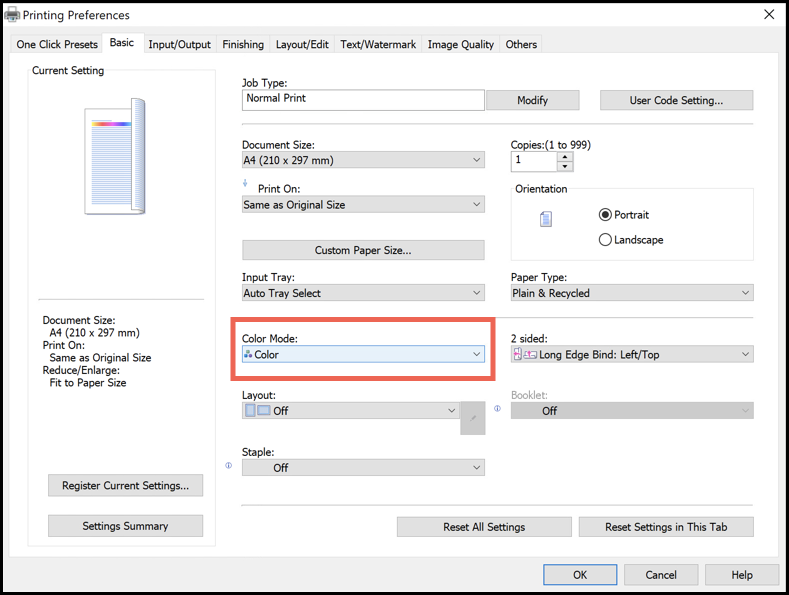
Ricoh
- Select Print in your application (E.g. word), select Printer NTNU-Print, and click Printer Properties or Preferences.
- From the drop-down menu Color Mode, select Color.
.png)
Troubleshooting
- Check that you are connected to internet.
- Run Windows Update and install all available Windows updates.
- Make sure you have enough money remaining in your printing allowance.*If you're still having trouble, contact the [[http://Orakel Support Services|Oracle Support Service]] for help.
Related
- Student allowance for printing
- Computer labs for everyone
- Installing printers in Mac OS X
- Installing printers in Linux
Contact
Orakel Support Services can help if you encounter difficulties.