NICE-1 - connect to workspace - Kunnskapsbasen
NICE-1 - connect to workspace
On this page you will learn how to connect to your NICE workspace through VPN and two-factor authentication. We'll also show you how to give other users access to the storage area you've created.
Norsk versjon - NICE-1 - koble til lagringsområde
Connect to VPN
Before you can connect your computer to NICE workspaces, you must connect to VPN, which establishes an encrypted connection between your machine and NTNU's network. Two-factor authentication is used. If you have not enabled two-factor authentication, read how this is done here.
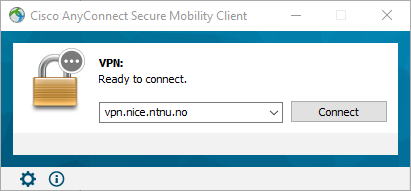
- Run Cisco AnyConnect Secure Mobility Client
(NICE VPN Client on managed PCs) - Enter vpn.nice.ntnu.no and press Connect

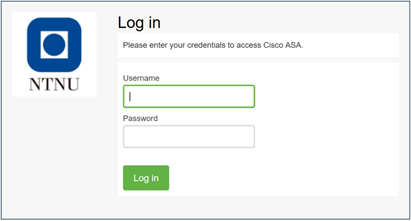
- Log in with your username and password
- In the two-factor authentication window, choose whether you want to receive a push notification that you must accept in the DUO app on your mobile phone, or if you want to enter a passcode yourself, from the same app.

- Authenticate through the chosen method and you will be connected to VPN for NICE.
Connect to workspace
File path
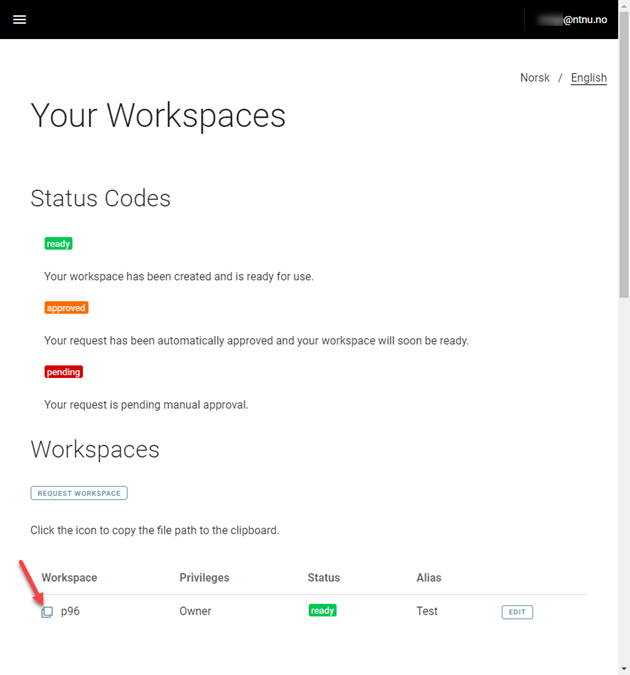
The file path to your workspace can be found by logging in to https://nice.ntnu.no/ and then selecting Your workspaces. You'll see your workspace(s) in the overview at the bottom of the page.

Click the icon to the left of the desired workspace, and a window with the correct file path will appear.
Connect from Windows
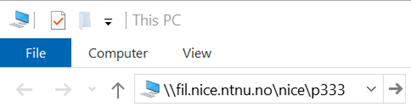
The easiest way to connect to your workspace is to start File Explorer and type \\fil.nice.ntnu.no\nice\ followed by the name of your workspace, in the address bar:

If you are logged in to an NTNU PC with your NTNU user account, the workspace will then be automatically connected. If you are logged in to your private PC, a window for authentication will open. Enter win.ntnu.no\username and your password, and the workspace will be connected.
If you want your workspace to connect with a drive letter, you can see how this is done on the page Connect to your home directory via Windows.
Connect from Mac
The file path to your workspace is written in a slightly different way if you are connecting from a Mac.
\\fil.nice.ntnu.no\nice\p333 is written like this: smb://fil.nice.ntnu.no/nice/p333
For more information on how to connect to your workspace from a Mac, see the section Connect to a network drive.
Members and privileges
Anyone who has requested a workspace automatically becomes the owner and gets full privileges to the area. This means that, in addition to reading and writing privileges, you have the rights to manage who should have access to the workspace. Initially, only the owner has access.
Add member
To add members, you must either be the owner of the workspace or a member with admin privileges.
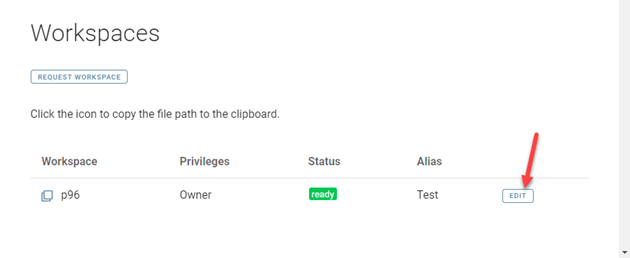
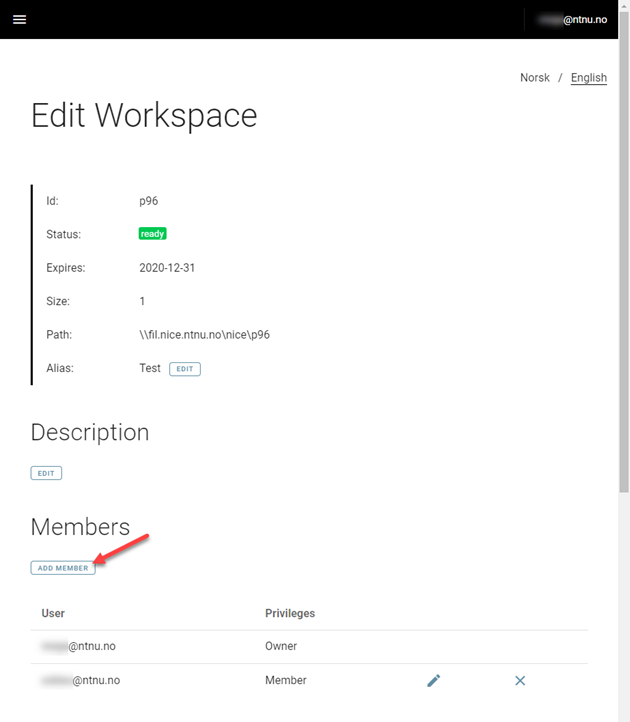
- Log in at https://nice.ntnu.no and select Your Workspaces. Locate the desired workspace in the overview at the bottom of the page and press the Edit button.
- Press Add member

- In the window that appears, type a new member in this way: <username>@ntnu.no.
(note that in order to be added as a new member, the person in question must have been logged in at https://nice.ntnu.no at least once.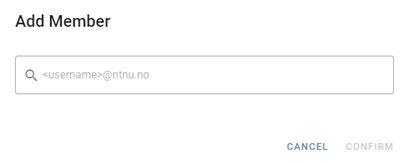
- Press Confirm. The member is now added and will appear in the member overview.
Remember that new users must enable two-factor authentication before they can connect to NICE workspaces.
Manage members
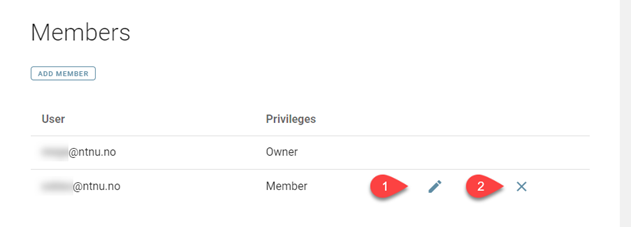
If you want to give a member admin privileges so that someone other than the owner can manage members of the workspace, you can do so by pressing the pen icon (1) to the right of the desired member. The rightmost intersection (2) is used if you want to delete users.

See also
Contact
Orakel Support Services can help you if you have questions or encounter difficulties.