HTML codes for online publishing - Kunnskapsbasen
HTML codes for online publishing
On this page you'll find HTML codes and explanations about how to use them in teaching and learning resources in Digit and other tools. The codes are only intended for internal use in Digit and should not be used on NTNU's external and internal websites.
Norsk versjon: HTML koder for nettpublisering
A great resource for HTML and code snippets is W3Schools. Here, you can find various elements and code snippets.: W3schools HTML
If you want more information on how to build online courses, check out: Nettkurs 1-2-3.
What is HTML?
HTML stands for HyperText Markup Language, and it forms the foundation for creating websites. The idea behind HTML is to structure and define the content on a webpage using codes, called "tags". Here's a very simple explanation:
1. HTML is like a recipe:
- Think of HTML as the recipe for a webpage. It tells the browser how to display the content.
2. Tags are instructions:
- Tags are like instructions in the recipe. They mark different parts of the content. For example, the `<h1>` tag marks a heading, and the `<p>` tag marks a paragraph.
3. Structuring content:
- HTML allows you to structure your content. You can have headings, paragraphs, lists, images, links, etc., each with its corresponding tag.
4. Opening and closing tags:
- Most tags come in pairs – an opening `<tag>` and a closing `</tag>`. For example, `<p>` marks the start of a paragraph, and `</p>` marks the end of the same paragraph.
5. Example:
- Here's a simple example:
<html>
<head>
<title>My Website</title>
</head>
<body>
<h1>Welcome!</h1>
<p>This is a simple website created with HTML.</p>
</body>
</html>
<html>
<head>
<title>My Website</title>
</head>
<body>
<h1>Welcome!</h1>
<p>This is a simple website created with HTML.</p>
</body>
</html>
Text styling
To center text with inline styling in HTML, you can use the style attribute directly on the HTML element. The "style" attribute is an element in HTML coding that can alter the appearance of its corresponding part. This is used to change color, position, font, etc. Here's a simple way to center text:
<p style="text-align: center;">This is centered text with inline styling.</p>

In this example, the style attribute is used directly on the <p> element to specify that the text should be centered. text-align: center; is the CSS style used to achieve the centering.
In the digital platform, it's possible to format the text directly in the text editor without the need to change the HTML code itself.

Here you can test out the code and get more information: W3Schools Style & W3Schools Format
Images
Images are essential for making online courses and resources more engaging and understandable. They provide visual support that can help students grasp complex concepts and maintain their interest. Images can also help break up the text and make the learning material more accessible and memorable.
Right-aligned image
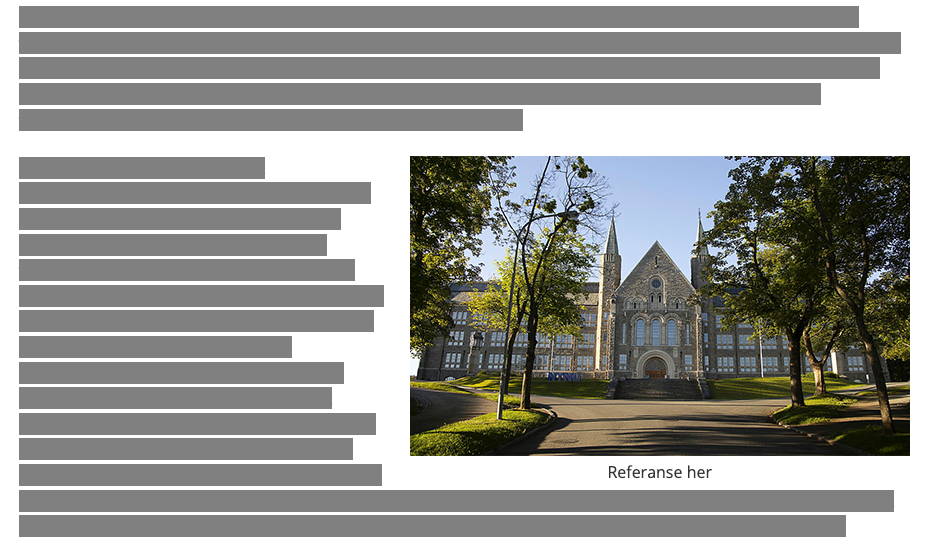
Here's the recipe, just follow it and replace the highlighted parts:
Alternative text: Brief image description
Image link: The link you copy from the web or another storage solution
Reference: Who took the picture, where the picture is stored
Code snippet: <figure style="padding-left: 20px; float: right;"><img width="500" alt="Alternative text" src="Image link"/><figcaption style="text-align: center">Reference</figcaption></figure>
Left-aligned image
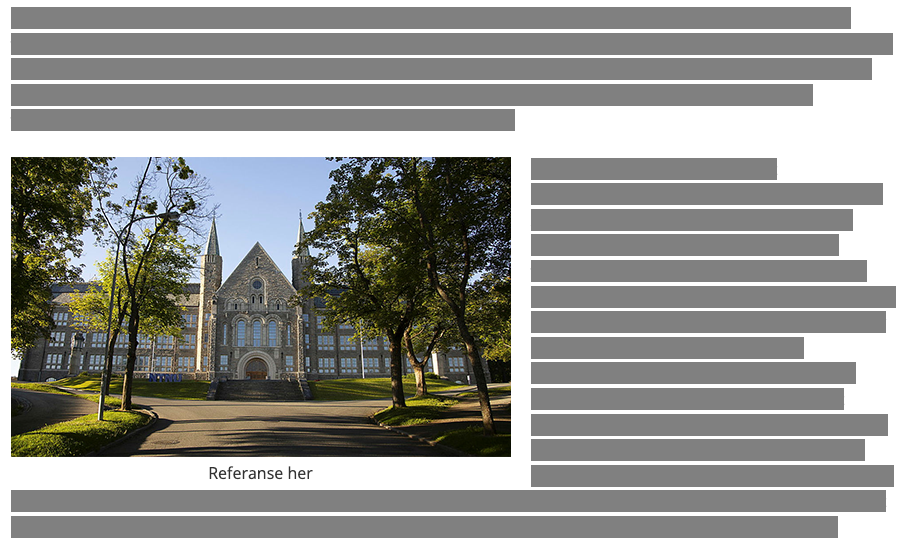
Here's the recipe, just follow it and replace the highlighted parts:
Alternative text: Brief image description
Image link: The link you copy from the web or another storage solution
Reference: Who took the picture, where the picture is stored
Code snippet: <figure style="padding-right: 20px; float: left;"><img width="500" alt="Alternative text" src="Image link"/><figcaption style="text-align: center">Reference</figcaption></figure>
Centered image
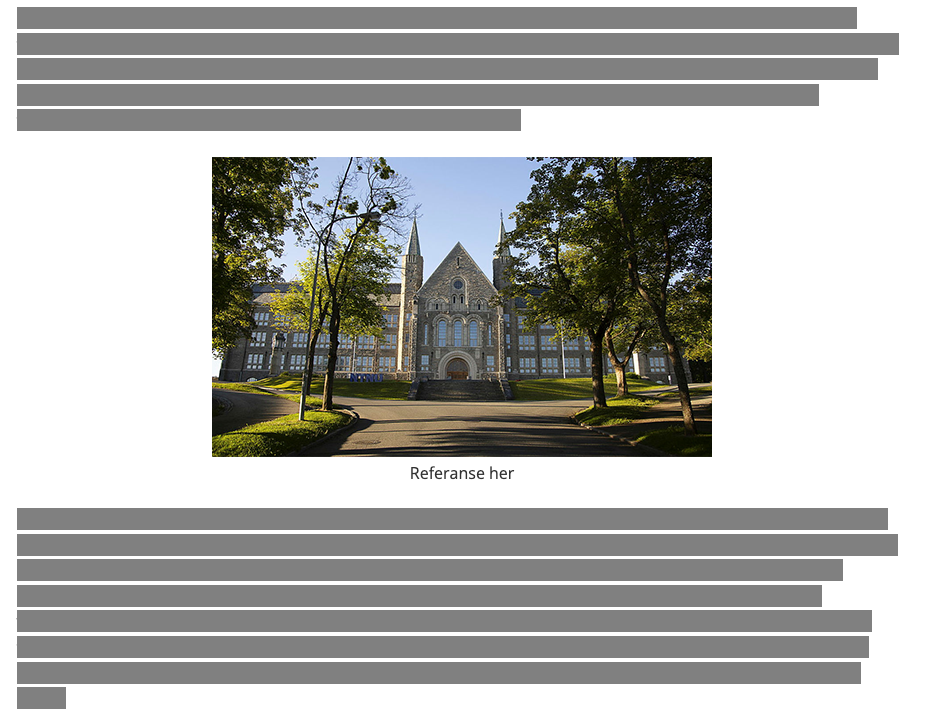
Here's the recipe, just follow it and replace the highlighted parts:
Alternative text: Brief image description
Image link: The link you copy from the web or another storage solution
Reference: Who took the picture, where the picture is stored
Code snippet: <figure style="text-align: center;"><img width="500" alt="Alternative text" src="Image link"/><figcaption>Reference</figcaption></figure>
Image that is as wide as the screen
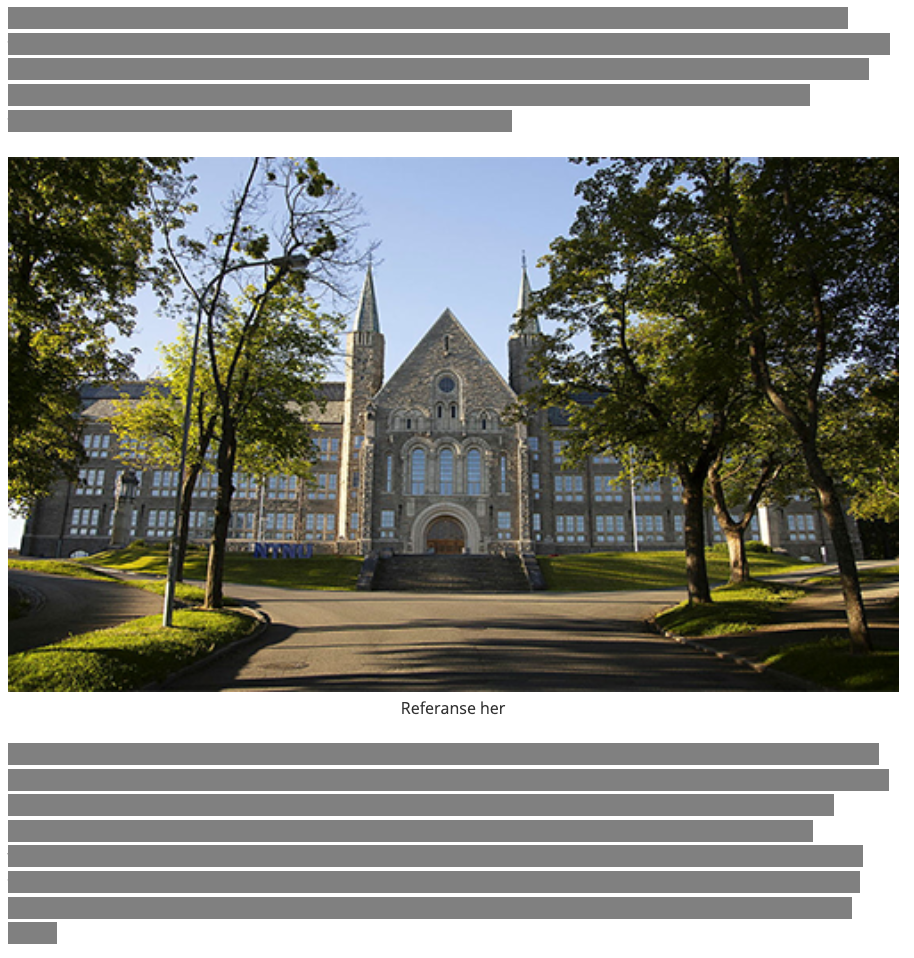
Here's the recipe, just follow it and replace the highlighted parts:
Alternative text: Brief image description
Image link: The link you copy from the web or another storage solution
Reference: Who took the picture, where the picture is stored
Code snippet: <figure><img width="1200" style="height: 100%; object-fit: cover;" alt="Alternative text" src="Image link" /><figcaption style="text-align: center">Reference</figcaption></figure>
Here you can test out the code and get more information: W3Schools images
Links
In online courses and resources, links play a crucial role in facilitating access to existing information and relevant resources. These links act as guides, directing students to external sources to expand their understanding while offering additional resources that enrich the learning experience. Through the use of links, online material becomes not only a source of knowledge but also a tool for exploration and deep dive into the relevant topic.
To add a link:
Enter the link here: Enter the long URL link to the website you want to link to.
What is the link: A short description of what the link is.
What is displayed: Enter what you want the reader to see as the link.
<a href="Enter the link here" title="What is the link" target="_blank" rel="noopener">What is displayed</a>
Example:
Enter the link here: Enter the long URL link to the website you want to link to.
What is the link: A short description of what the link is.
What is displayed: Enter what you want the reader to see as the link.
<a href="https://www.w3schools.com/html/html_images.asp" title="HTML for images" target="_blank" rel="noopener">W3school HTML images </a>
And the link will look like this: W3school HTML images
Change color on link
To create the link:
Enter the link here: Enter the long URL link to the website you want to link to.
What is the link: A short description of what the link is.
What is displayed: Enter what you want the reader to see as the link.
style="color: red; red is the color in English you want the link to have
<a href="Enter the link here" title="What is the link" target="_blank" rel="noopener" style="color: red;">What is displayed</a>
<a href="https://www.w3schools.com/html/html_images.asp" title="HTML code for image" target="_blank" rel="noopener" style="color: red;">W3Schools HTML images</a>
And the link will look like this: W3school HTML images
Here you can test out the code and get more information: W3Schools links
Tables
In online courses and resources, the use of tables is a great way to organize and present complex data. Tables provide a structured and clear way to compare and analyze information, making them invaluable for highlighting connections and patterns. Through tables, students can quickly and efficiently access and understand extensive data, contributing to a more systematic and insightful learning experience.
Basic table

To modify information in an HTML table, you can do the following:
- To change headers in the table, edit the content between the <th> and </th> tags.
- To change the content in the cells, edit the content between the <td> and </td> tags.
- Add or remove <tr> tags and their corresponding <td> or <th> tags to add or remove rows or columns.
- Remember that <th> tags are used for headers and <td> tags are used for data cells.
Example code:
<table>
<tbody>
<tr>
<th>Column 1</th>
<th>Column 2</th>
<th>Column 3</th>
<th>Column 4</th>
</tr>
<tr>
<td>Row 1, Cell 1</td>
<td>Row 1, Cell 2</td>
<td>Row 1, Cell 3</td>
<td>Row 1, Cell 4</td>
</tr>
<tr>
<td>Row 2, Cell 1</td>
<td>Row 2, Cell 2</td>
<td>Row 2, Cell 3</td>
<td>Row 2, Cell 4</td>
</tr>
<tr>
<td>Row 3, Cell 1</td>
<td>Row 3, Cell 2</td>
<td>Row 3, Cell 3</td>
<td>Row 3, Cell 4</td>
</tr>
</tbody>
</table>
Here you can test out the code and get more information: W3Schools tables
Layout example
It can be beneficial to include various recurring elements throughout the online course, offering variation and aiding the reader through the information. Images and quiz questions are good elements as they break up the text and give the reader a break. Here are some examples of different elements that can be helpful in designing the resource.
Here you can see the use of reflection points (Grublestopp) to break up the text and allow the reader to pause and reflect on what they have read. A colored stripe has also been added above and below the content to highlight the information and provide a universal design for the resource. The video element enhances the pause and contributes to better learning with varied learning methods.

Do you wish for more inspiration, check out: Nettkurs 1-2-3
Help/Support
For immediate assistance, you can contact the Oracle at NTNU hjelp.
Reach out to the Section for teaching, learning and digital services (SLD) via NTNU Hjelp for pedagogical support.